Category: Android Development

  • Enable Google Sign In on Flutter Android + Laravel Stack

    Enable Google Sign In on Flutter Android + Laravel Stack

    Current Stack

    • Flutter for Android
      • google_sign_in plugin for social network integration
    • Laravel 12 for backend
      • Socialite for Social Network integration

    We want to enable users to sign up/in on our Android application using their Google account with the current setup that we have.

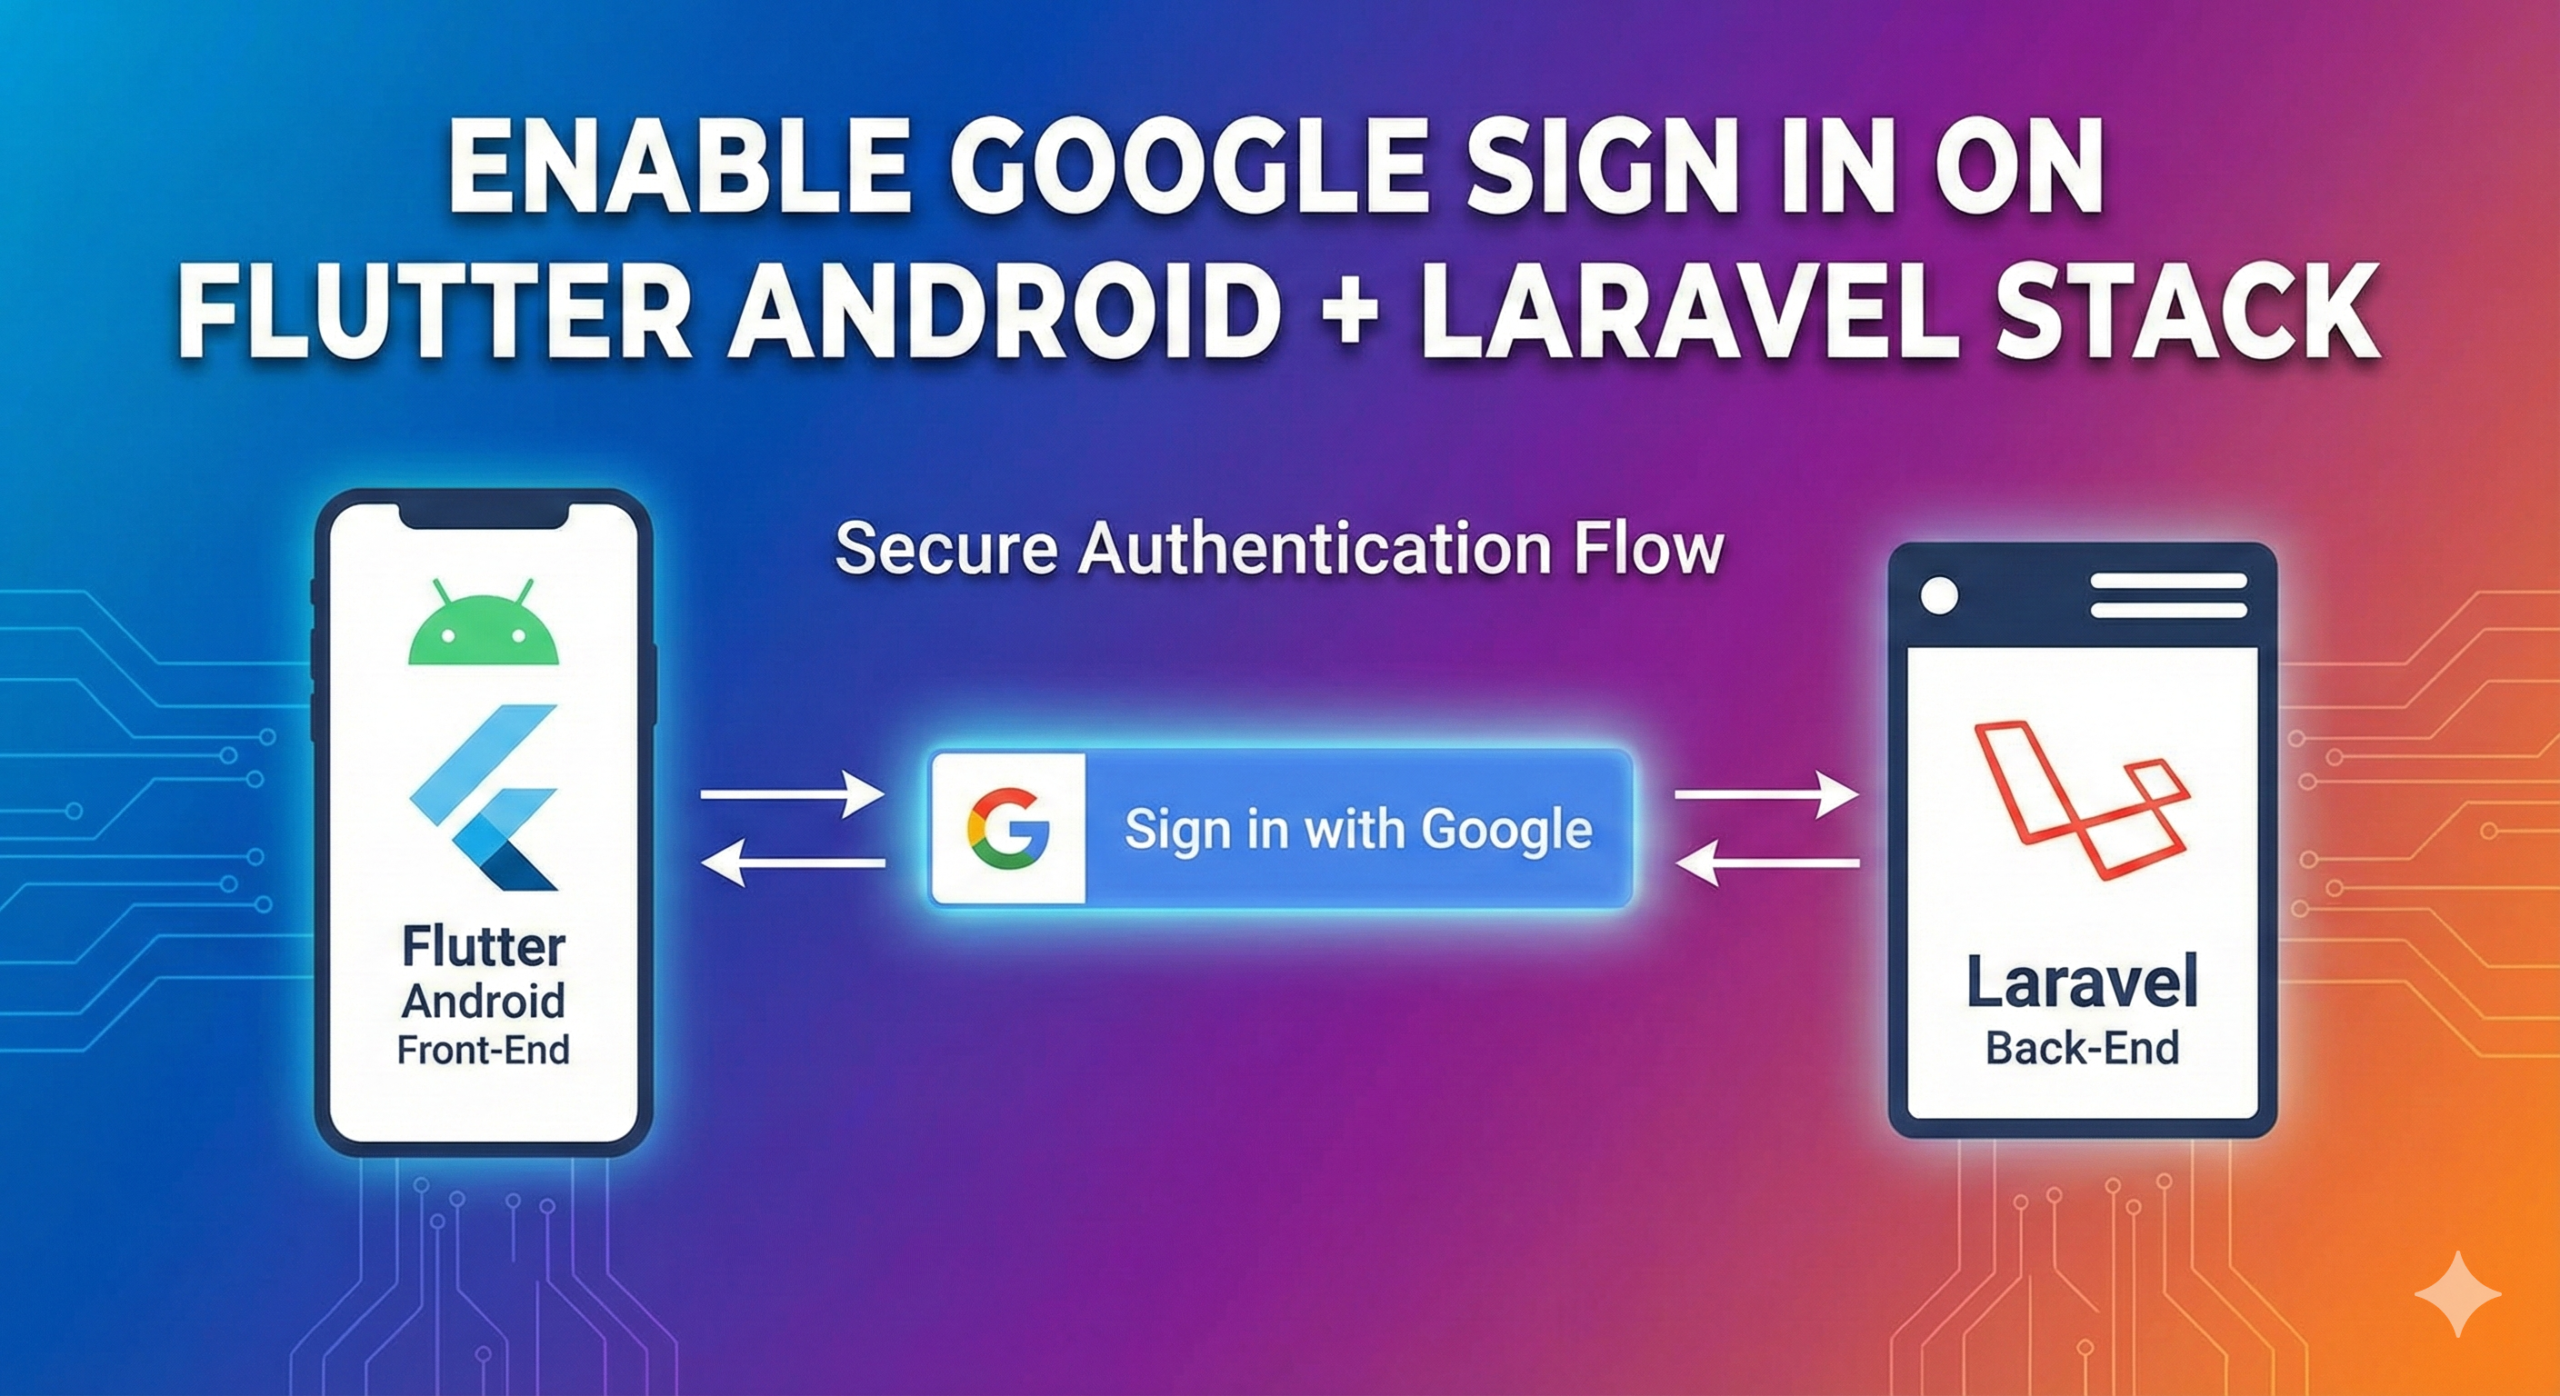
    The plan is to have the Flutter app allow the user to sign up/in to our platform using their Google account. Then pass a reference to this user to our backend, have the backend re validate the user for security purpose and create/update a user in our database so that we’ll be able to recognized them later on even if they switched devices. Later on we would also want to enable other services for users to use to log in like Facebook.

    To get this to work here’s what we did :

    Flutter (frontend)

    1. Install google_sign_in plugin.
    2. Follow the their instruction to enable google sign in. This includes creating OAuth2 credentials. In our case we had to create 2 OAuth2 Clients: a web application and an android application, setting the hash for the android application amother other things.
    3. Once that is set up, you move to calling GoogleSignIn.instance.authenticate() in your application to start the authentication process. (you’ll need to initialize the plugin first, just follow their instructions)
    4. After authentication you will get a GoogleSignInAccount object from the GoogleSignInAuthenticationEvent event object. This should contain an authentication.idToken property. So if you’ve assigned the GoogleSignInAccont to a “user” variable, you can access this through user.authentication.idToken. Pass this idToken to laravel for further authentication and user details fetching from the server.
    5. For Laravel we’re using Socialite to make communication with third party sign in providers easy. In Google’s case we would use the idToken provided to fetch the user’s information via Laravel and at the same time verify the authentication before creating or logging in the user.
    6. From there we would just create a new user token for the user to persist their session from the flutter app.

    Logging the user this way helps us maintain the user’s information even if they switch device.

    There’s probably a better/cleaner solution but for us this works pretty well. We will be applying the same process for Facebook log in and see how it goes.

    I hope this provide some insight on how we can implement Google sign in via Flutter and Laravel stack.

    Cheers!

  • Using AdMob on Godot 4.3+

    Using AdMob on Godot 4.3+

    I was working on a Godot game and finally was able to get to the point of adding an ad to monetize it somehow.

    I searched around for a Godot Admob plugin and was only able to find a few.

    First one I tried was this plugin, https://github.com/poingstudios/godot-admob-android. But I can’t get it to run in Godot 4.3. I think it was running until 4.1 or 4.2? Not really sure.

    Afterwards I moved to this one, https://github.com/cengiz-pz/godot-android-admob-plugin and it seems to work. And this one was easier to use as well. Only took me a few minutes to get a sample ad running. Very impressive thank you to the author : https://github.com/cengiz-pz/godot-android-admob-plugin/commits?author=cengiz-pz

    My game is up on google playstore at https://play.google.com/store/apps/details?id=com.palawenos.eliminateblocks

  • Flutter first impression

    Flutter v1.0 is here. Been using it for the past 2 months and I have to say I’m impressed how easy it is to create an application compared to native android (java/kotlin) and not to mention how enjoyable it is to work with.

    I said easier probably because the widgets are already designed (appearance) to look nice and provide options that are commonly used. And the developer would just need to insert them, add spacing/margins, place contents in it, and/or add some code for interactions and it’s done. It took me a couple lines of code to get a similar application working where back in native android I would’ve coded more. This saves time and effort in my opinion, which is very nice to have when you’re working on your project solo.

    As an example, after doing some studying how to make applications using Flutter I went ahead and tried creating an actual app that I can use. I’ve published the app here. It’s a simple application that consumes yts.am website’s api. Basically it displays movies and its details and allows the user to copy the movie’s torrent url or download it so they can use it on their torrent client.

    Working on this app was fun, I’d say it was more enjoyable than how I was making apps before (both ios and android). Tweaking was instantaneous due to hot reloading. And I tend to do a lot of tweaking after I’m done with the general function that I want normally so this part was very  satisfying. For the most part hot reloading works, but in some cases it wasn’t, like when I’m testing loading of data from a remote source which was frustrating.

    At first, it’s a bit confusing how I want to start coding the app but like any other programming languages it helps to learn the basics. I mean really learn the basic stuff of the language so you won’t get too lost later on. It also helps you to look for solutions later on.

    It took me around 2 weeks to finish the application with (i think) more or less 1 – 3 hours a day or less time spent on it. I only work on it when I feel like it. But I think it could be done with much less time.

    Now its published at the play store and I’m quite satisfied how it turn out. I don’t see any runtime errors (nice!!). I check it from time to time.

    Here are some of the stuff I learned from developing this app :

    • Flutter uses “widgets” for everything it displays on the screen. You want to display Text? that’s a widget. Images? a widget. Scrollable list view? also a widget
    • constant/fixed content widgets are SatelessWidget while widgets that changes content are StatefulWidget
    • Flutter has a presets of icons, UI designs, and widgets.
    • Need to extend an existing widget? Create one using a combination of existing basic widgets.
    • Flutter uses Dart as its programming language
    • “async” for running asynchronous functions. pretty simple. Useful for cases like fetching some data from a remote service (e.g. web server api)
    • Build your entire UI by code. No xml layout files or visual editor needed.
    • Just using the default UI design and icons makes the app’s UI look pretty darn good!
    • … and a lot more!

    Right now it looks presentable. And I’d say Flutter is stable enough to work on this simple application.

    However with all this advantages with Flutter, its packages/add ons is pretty small right now (1st quarter 2019). For example, I was looking for a PayPal add on or any other payment system (aside from Stripe) and I can’t find any. But I’m sure more add ons will be available after awhile.

    Hopefully I can add a tutorial later on with using Flutter/Dart for Android/iOS dev.

    That’s all I can say for my first impression on using Flutter for Android development. If you haven’t tried Flutter yet, give it a shot. Its fun, simple (at times), and easy to implement.

    : )

  • How to use RecyclerView (Android Dev)

    I’ve been using ListView for a long time now, just recently I had to add a list on our mobile project, and I happen to stumble upon an article talking about RecyclerView (I wasn’t aware it existed that time). What I think is better in RecyclerView is how easy it is to use and implement custom Item View.

    To make it easier for other Android developers who are just about to start on their next project that uses a list, I decided to create this short info (sort of tutorial) page on how I used RecyclerView to replace my ListView.

    So here’s how I went through to implement RecyclerView :

    first I add the View/widget to my layout resource file :

    <android.support.v7.widget.RecyclerView
        android:id="@+id/list"
        android:layout_width="match_parent"
        android:layout_height="match_parent">

    (this would be like my ListView, and individual item views will be placed inside it)

    then on my Fragment I created a reference to my RecyclerView:

    listView = v.findViewById<RecyclerView>(R.id.list)
    listView.setHasFixedSize(true)
    val lm = LinearLayoutManager(activity)
    lm.orientation = LinearLayoutManager.VERTICAL
    listView.layoutManager = lm

    Afterwards, I define my ViewHolder (this is the individual item view) :

    class HouseViewHolder : RecyclerView.ViewHolder {
        public var vName: TextView
        public var vExpires: TextView
        var btnPostAd : Button
        var btnInfo : Button
        var vCost : TextView
    
        constructor(v: View) : super(v) {
            vName = v.findViewById<View>(R.id.listTitle) as TextView
            vExpires = v.findViewById<View>(R.id.expire_on) as TextView
            btnPostAd = v.findViewById<Button>(R.id.btnPostAd)
            btnInfo = v.findViewById<Button>(R.id.btnInfo)
            vCost = v.findViewById<TextView>(R.id.cost)
        }
    
    }

    then I also created my Adapter (this will be the data handler responsible for tying up data to the view) :

    class HouseCardAdapter  : RecyclerView.Adapter<HouseViewHolder> {
    
        private var houseList : List<House>
        private var listener : HouseActionListener
    
        interface HouseActionListener {
            fun clickItem(i: Int)
            fun clickAdCreate(i: Int)
        }
    
        constructor(list : List<House>, listener : HouseActionListener) {
            this.houseList = list
            this.listener = listener
        }
    
    
        override fun onCreateViewHolder(parent: ViewGroup?, viewType: Int): HouseViewHolder {
            val itemView = LayoutInflater.from(parent!!.context)
                    .inflate(R.layout.house_list_item, parent, false)
            return HouseViewHolder(itemView)
        }
    
        override fun getItemCount(): Int {
            return this.houseList.size
        }
    
        override fun onBindViewHolder(holder: HouseViewHolder?, position: Int) {
            val house = houseList.get(position)
            holder!!.vName.text = house.name
            holder!!.vExpires.text = house.adExpiresOn
            holder!!.vCost.text = house.cost.toString() + " / month"
    
            holder!!.btnPostAd.setOnClickListener(object : View.OnClickListener {
                override fun onClick(p0: View?) {
                    listener.clickAdCreate(position)
                }
            })
            holder!!.btnInfo.setOnClickListener(object : View.OnClickListener {
                override fun onClick(p0: View?) {
                    listener.clickItem(position)
                }
            })
        }
    
    
    }

    R.layout.house_list_item is the layout resource for the individual items. You’ll need to create your’s  first.

    that’s it! we now have a Data Adapter for the RecyclerView and a ViewHolder class for handling the layout for each individual items.

    We’ll only need to attache the adapter to the actual RecyclerView object :

    listView.adapter = HouseCardAdapter(houses, this)

    houses is  an ArrayList of my custom class House.